Why Use a Delay and Reverb Calculator
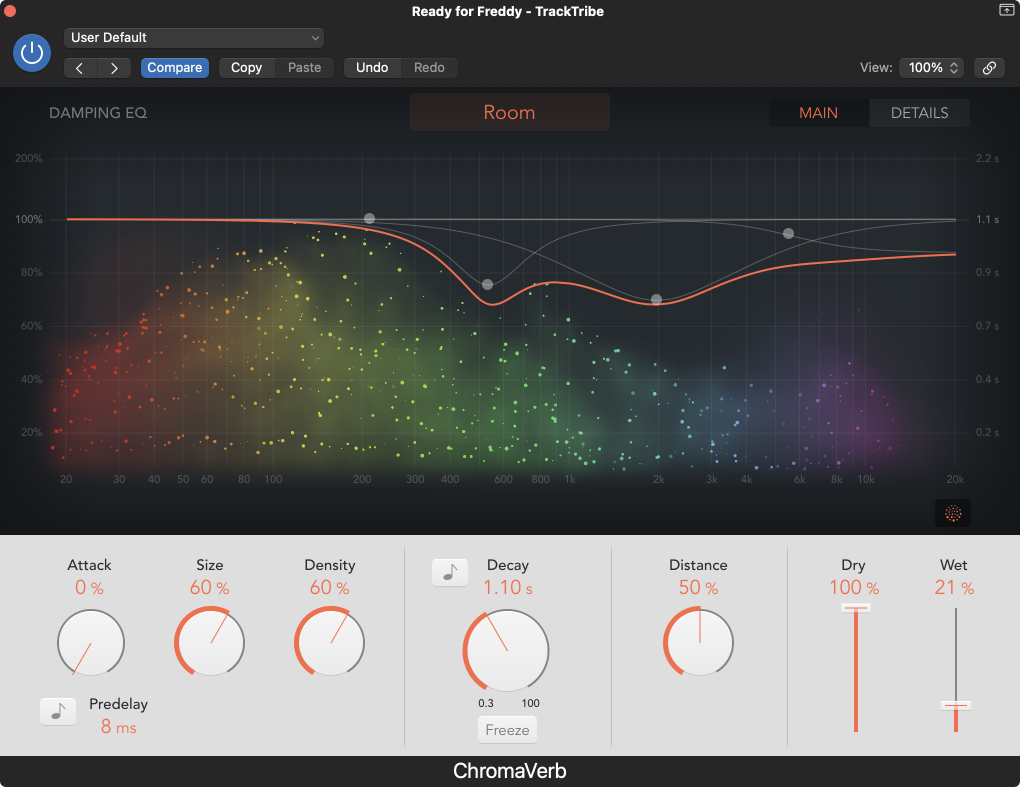
One of the most common beginner mistakes when it comes to reverb settings is that they tend to have too long or too short of a reverb decay time. Not surprisingly, a lot of people will use presets for their favourite plugins while they are mixing, which is not wrong, but if the timing of your reverb is not adjusted to the song it may sound off. Without adjusting the pre-delay and delay (or decay) timing of your reverb, it may likely be too long for the song.
When the reverb delay time is too long, it can make the vocal or instrument feel muddy, and its crowding the space of the song not allowing for other instruments to sound clear. Too little and it sounds like it’s naked. To get something that feels in tune with the song, it’s best to start by lining it up with the timing of the song and then adjust to taste as needed. Literally setting the reverb's decay time to be the length of a bar or two (for example) and then increase or decrease the timing to what sounds best.
The Reverb Calculator Formula
It’s possible to get an exact timing using the beats-per-minute (BPM) of the song to determine how long the decay time should be. However, it’s a bit tedious to be this math on any regular basis but here’s an example.
Let’s say your song has a BPM of 130 and you want to calculate one whole bar of time.
- First, we calculate a quarter note (1/4) in milliseconds
- 60,000 / 130 = 461.53846154 ms
- Then we multiply the quarter note by four to get a whole note
- 461.53846154 * 4 = 1846.15384616
- Then we can convert to seconds if needed by:
- 1,846 / 1000 to convert to seconds 1.846
- And round up as such as 1.85 s
- If we want to convert this to a triplet or dotted we then
- Multiply by 0.667 for triplets, or
- Multiply by 1.5 to get dotted
Additional to this, you will also need to calculate your pre-delay time and subtract that from your decay time.
As you can tell, this will be a complicated set of steps to do regularly. That’s why I originally created the Studio Assist app. With the app, all this math becomes two simple steps that you can do within seconds, allowing you to stay in the zone while mixing or recording sessions.
Choosing the Right Reverb Time
Whether you use a tool like Studio Assist or do the calculations by hand, you will have to figure out how long you want your reverb to be. For instance, should it be a 1/16 note, 1 bar, or 2 bars? Or maybe it should be even longer than all those choices.
First off let’s take a look at how the different kinds of
First off it really depends on the type of music you are making. For instance, rap music requires a much shorter timing as the goal, maybe something like a 1/16 note up to 1 bar. Whereas if you’re a singer you likely want to be closer to 2 bars.
Watch this video to see examples of it being done with Studio Assist.
Make the Reverb Delay Sound Natural
Most of the the time in a natural space the reverb timing would not be in sync with the song. And it may not always be the desired sound for the song for everything to be perfect. Therefore you should adjust to taste by making it slightly short or longer. If your plugin allows for the ability to click and drag the numbers greater or lower you can use that, otherwise try decreasing by a number like 10 milliseconds at a time.
For those who own Studio Assist, there is a built-in swing feature that allows you to increase or decrease the reverb calculator results by a percentage value which will apply to all measurement calculations. If part of your sound is to always be ahead or behind the beat by a specific amount of swing, you can lock in the value and have it applied to all calculations you do.
At the end of the day, use a reverb calculator way to quickly test our times that will work with the song. You can flip between different measures to quickly get a sense of what works best with the song. Then adjust to taste based on the vibe of the record you are working on.